STEP 2: Mix Concrete Countertops
You don't have to use a special mix for making concrete countertops. Some folks recommend adding some fiberglass for extra strength and I'm sure it wouldn't hurt but then you have to deal with fiber hairs sticking out of the concrete when you are done. We used regular ready-mix bags of concrete from Home Depot. At this stage you also need to decide how you plan to color your countertops. You can either mix die into the concrete or acid stain it when you are done. We decided to do the acid stain approach and mix our concrete countertops with nothing special.
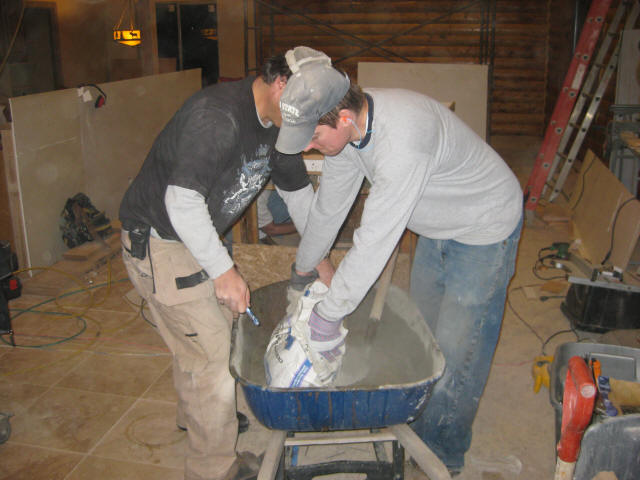
Mixing concrete in a wheel-barrow...doesn't get more basic than that. Be careful not to add too much water, the more water, the weaker the concrete will cure.
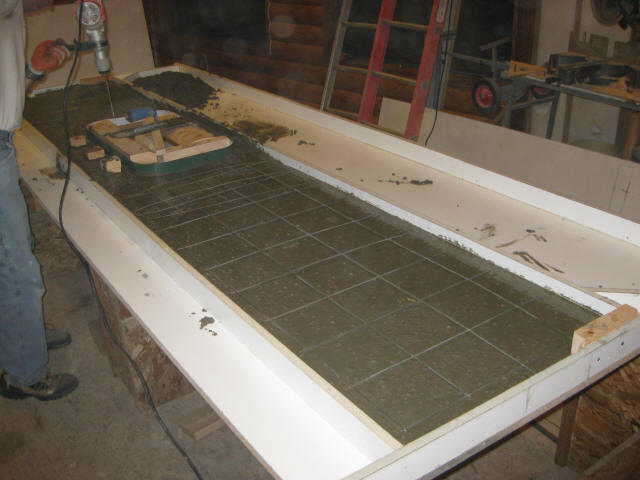
You'll want to take the wire mesh out and pour about half the concrete first and then lay it in. To get all the air bubbles out you can use a vibrating sander. We did that for awhile and then the sander died so we resorted to the hammer drill.

Above you can see the addition of the 1/2" rebar above and below the sink cut-out.
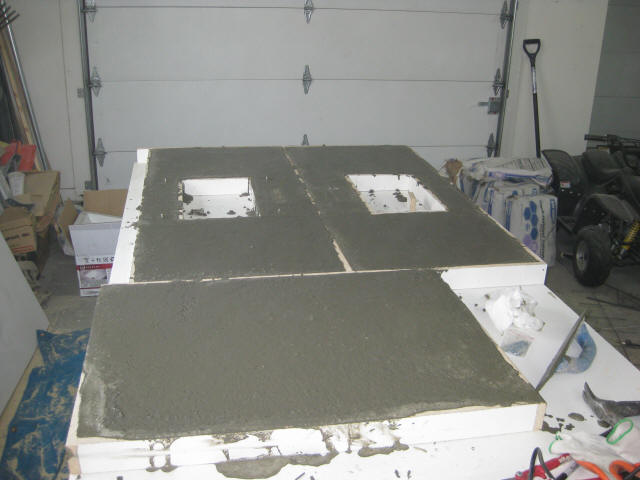
First set of concrete countertops is mixed and poured. We embedded some screw inserts in the concrete that came with the sink to make the sink mounting easier.
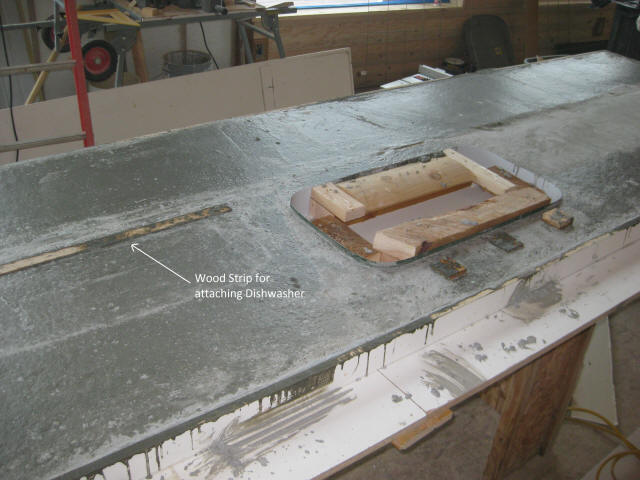
In the above picture you can see a small wood strip we inserted in the countertop to attach the dishwasher to. Once all the countertops are poured you must let them cure for around 3 weeks. If you're like me, it's hard to wait because you're antsy to see how it looks. That's about all that is required to mix concrete countertops and pour them in the forms.
STEP 1: Building Concrete Countertop Forms
STEP 2: Mix and Pour Concrete Countertops
STEP 3: Setting the Concrete Countertops in Place
STEP 4: Acid Staining Concrete Countertops