Framing an Exterior Wall
The exterior walls of our cabin were framed with 2x6s spaced 16" apart. This was primarily for extra insulation value as well as structural integrity since some of the exterior walls were quite tall. Before you start framing an exterior wall you should study your plans and decide what order you will build your walls in. Depending on how much manpower you have helping, you may decide to divide up the exterior wall framing into smaller sections to allow you to lift them easier. Since we had a 3 or 4 guys, we decided the frame the entire back wall in one section. It worked out fine.
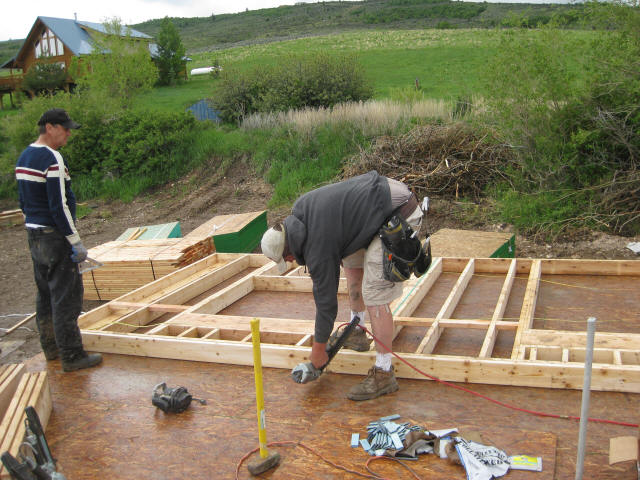
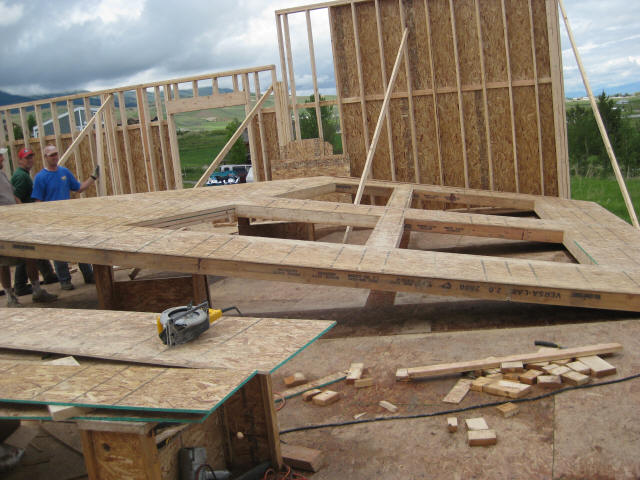
The picture above shows our first exterior wall being framed on the floor. For this step, you need to have a clear understanding of where all your doors and windows will go so you can insert headers in the right locations as you layout the wall.
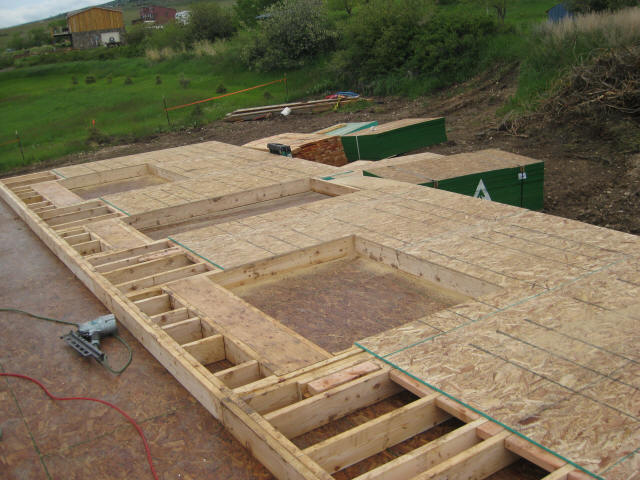
After the studs are laid out and the double header plates put on, the 1/2" OSB (Oriented Strand Board) sheeting can be stapled on. Stud locations can be chalked on the OSB so that staples will hit the studs. Inspectors can be very picky about the spacing on this stapling so make sure you staple it a little extra to make sure there are no issues. Check your local code for requirements.
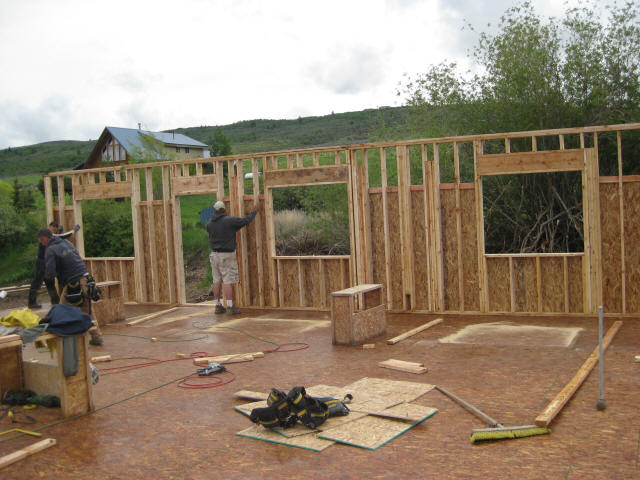
We stood the entire 40ft wall at one time with 4 guys. It wasn't too terrible....at least not as bad as the front wall coming up.
The neat thing about framing exterior walls is in a matter of hours you go from an empty wood floor to a real structure. The second wall was up before we knew it. Be sure to put plenty of bracing between the new walls and the floor just in case an unexpected wind comes up.
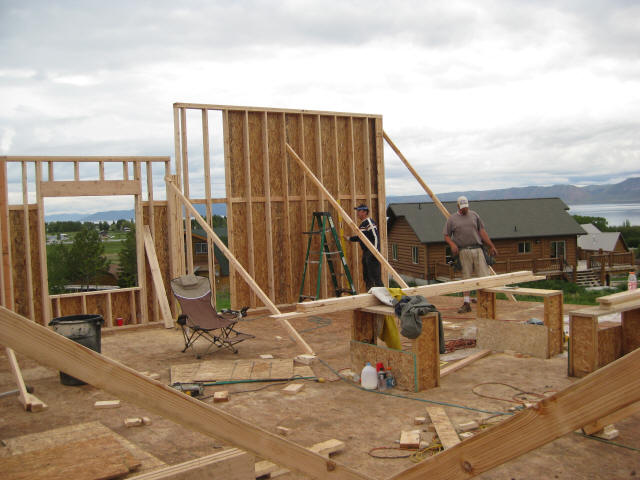
OK...now this is where framing exterior walls can get interesting. We built the first half of the front wall which ended up being 20ft wide and about 25ft tall at the peak. This wall contained lots of 6" versa-lams going the from top to bottom as well as a lot of heavy headers. We were getting excited to see this puppy go up so we decided to attempt it by hand even though we knew it wouldn't be easy.
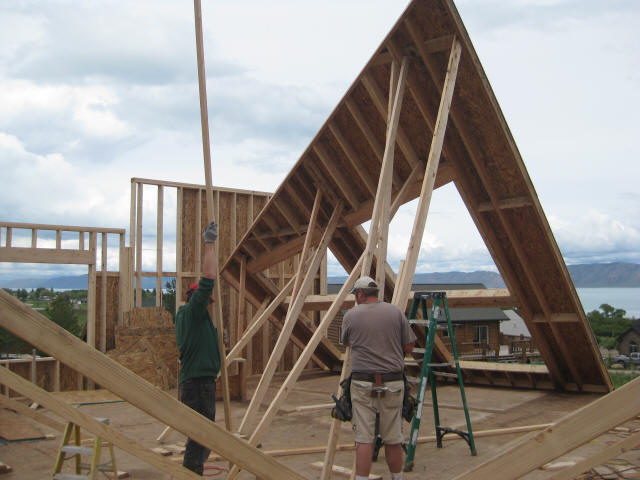
This is where we started to get scared. We were reaching the ends of our 2x4s that we were using to prop up the wall inch by inch. Some of the 2x4s were cracking and we thought the wall might come crashing down. At this point we were all thinking we should've got a crane. We finally did get this wall up by hand but it took 2 full hours and we were all scared for our lives. I wouldn't recommend trying to stand a wall this size
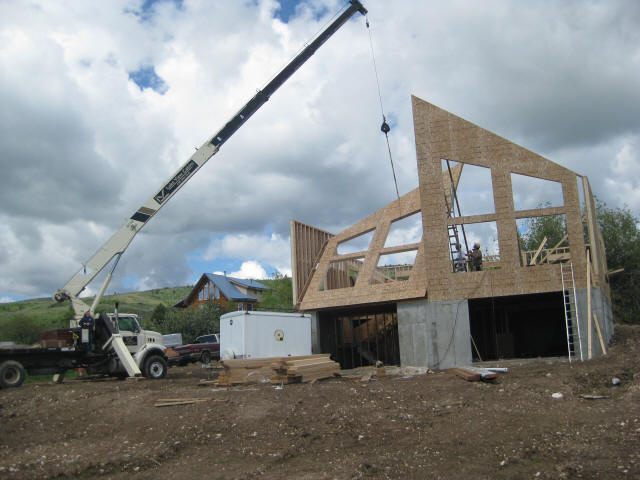
For the second half of the front wall we hired a crane. It cost us a little over $100 but the crane was well worth it. This wall took 3 minutes (I timed it) rather than 2 hours to stand. In addition, we were able to use the crane to lift a bunch of wood from the ground to the main floor to make life easier when framing the next floor.

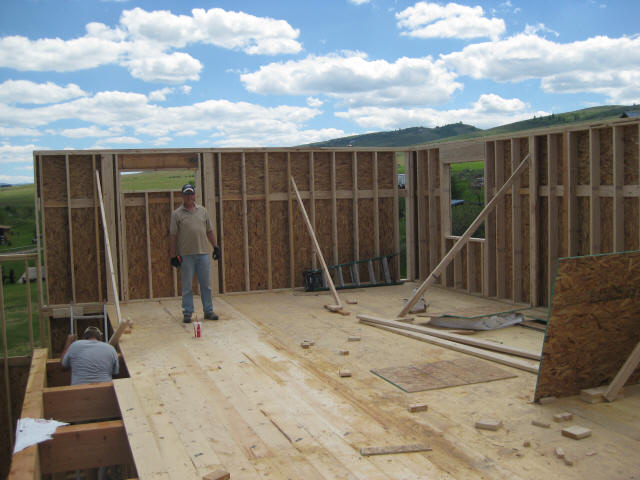
Once both the front exterior walls were raised, we installed lag bolts between the two so they'd be secured together. It was a good feeling to get to this point.
Second floor exterior walls are framed just like the first floor. We build them on the second floor deck and stood them up.
Framing Second Floor (Rough Cut Beams/Floor)