How to Tile and Grout Shower Walls
The last step of the shower remodel is to tile and grout the shower walls. The home stretch of the project.
When tiling shower walls you want to avoid ending up with small slivers of tile along one wall. Measure and make sure you split the difference if you have to avoid this. If it can't be avoided and you know you'll have small cuts of tile along one wall, make sure the part of the shower that is the most visible when you walk in has the full pieces of tile and the less visible wall gets the smaller pieces.
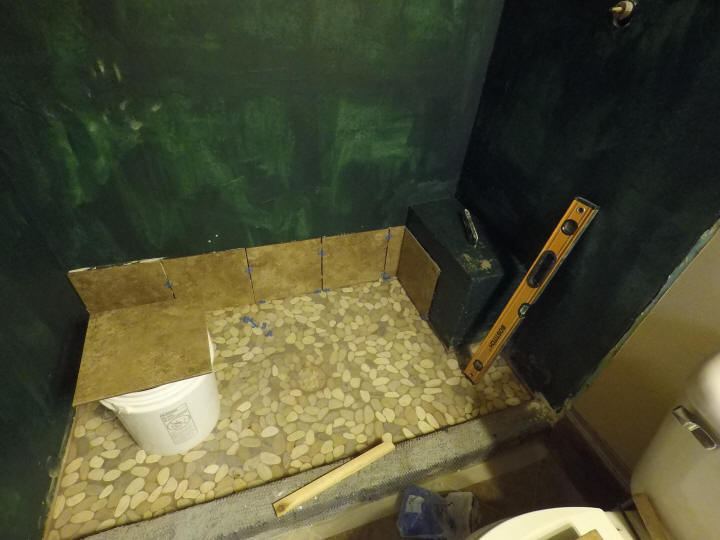
The first layer of tile on your shower wall is the most critical, it's like the foundation to a house. I know we tried to make the floor around the perimeter of the shower level but its never quite perfect. Use a level to locate the lowest point around the perimeter of the wall, hold a piece of tile on the wall with a spacer underneath and mark the top of the tile. Now take a level and mark a level line all the way around the shower perimeter, including the seat. This line should be at the same height as the mark you made earlier at about 12" high. This will be the target line for your first row of wall tile. Starting in the most visible corner of the shower, dry fit a tile with spacer underneath and see if is matches the line. If not, cut the bottom edge of the tile such that the top aligns with the drawn line on the wall. Back butter your first tile with a 3/8"x1/4" notched trowel (assuming 12" tiles) and modified thinset. Dry fit the next tile with spacer underneath and see if is matches the line. Continue this all the way around the base of the shower. It will take some time but once you get this row complete the rest of the wall tile will fly. With a perfectly level first row of tile you won't be fighting uneven tiles the whole way up the wall.
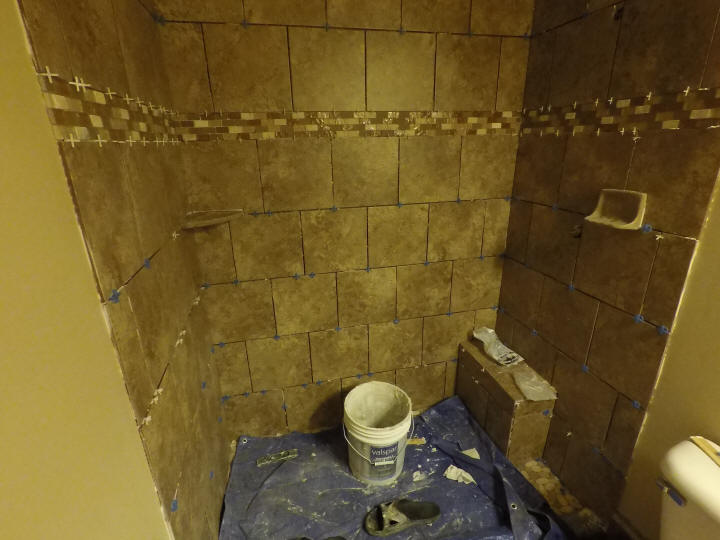
Cover the floor tile so prevent a mess of thinset and continue laying the wall tile. I used 3/16" tile spacers in this project.
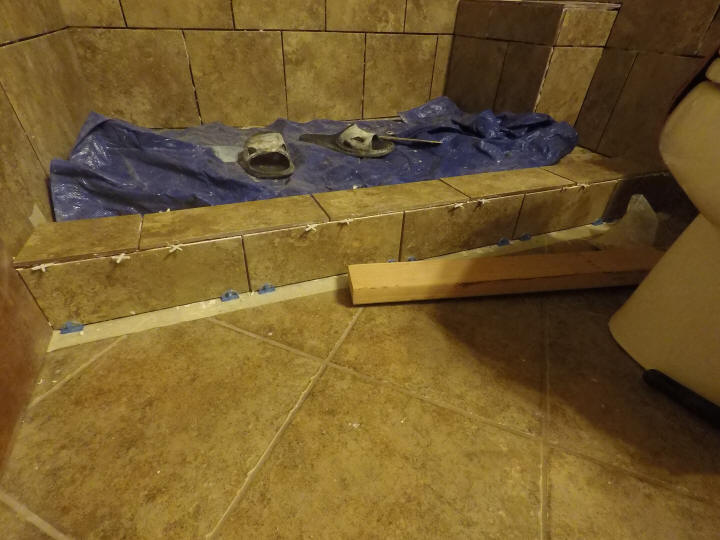
The last tile installed is over the shower curb. Apply thinset such that the tiles on top of the curb slope into the shower. These tiles should slope 1/8" or so from one side to the other. Let all the wall tile dry for 24hrs.
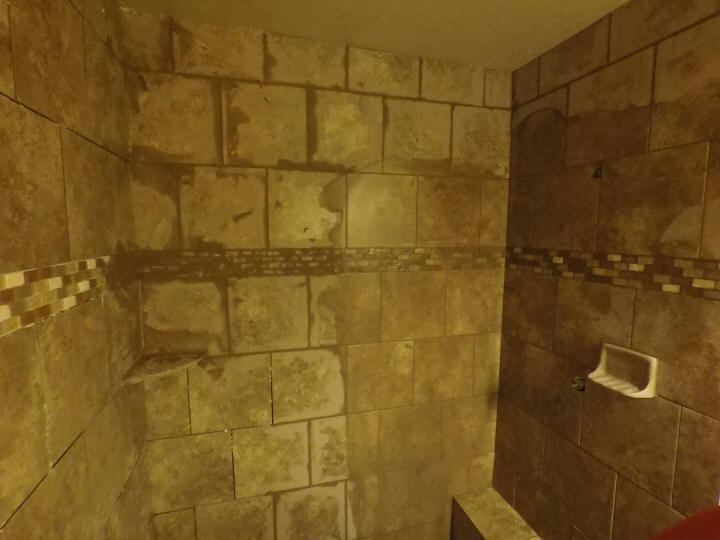
Grout the tile with a rubber float and sanded grout the same as the floor and wipe down with sponge and water until the tiles are clean.
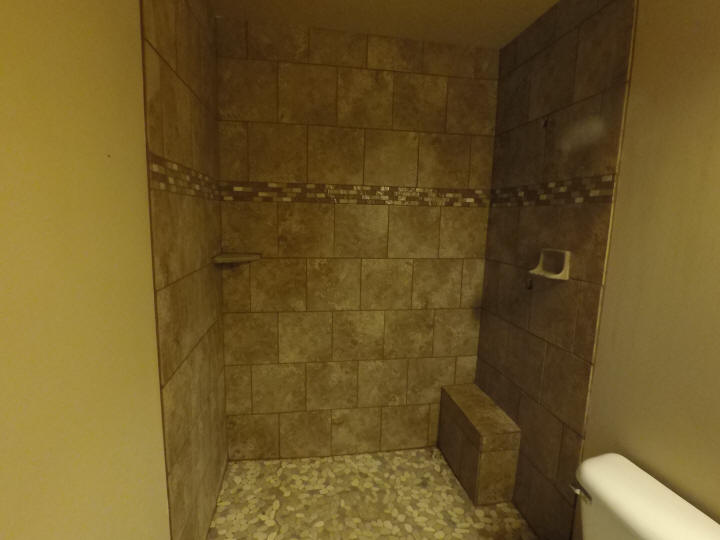
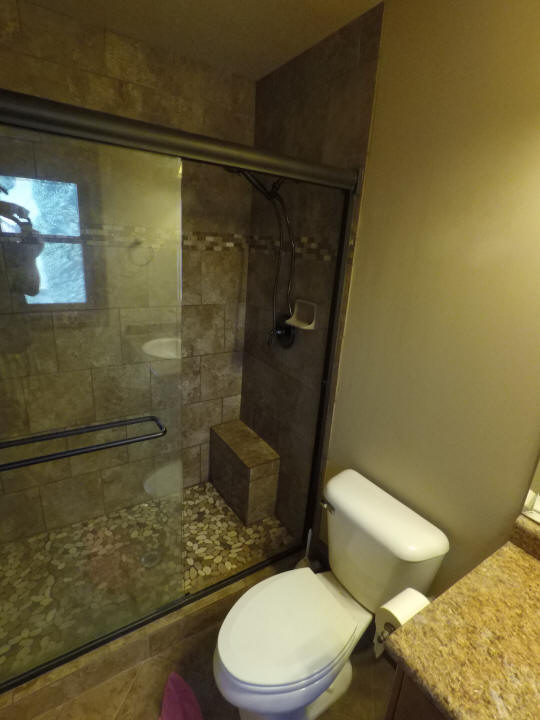
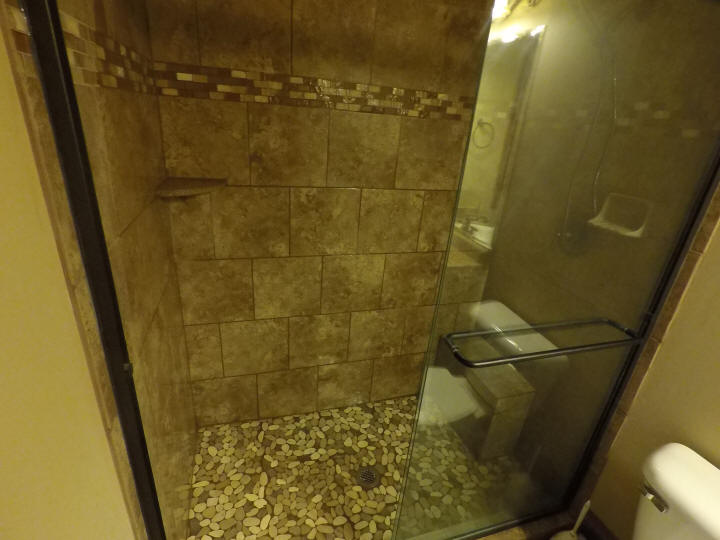
The shower tile is now complete. The only thing left is putting the shower door in and installing shower faucet trim. Refer to the installation instructions for each of those item as these steps vary widely based on manufacturer.
Done. I hope you these instructions were helpful.
Step 2: How to Replace a Shower Drain
Step 3: How to Make Shower Deck Mud
Step 4: How to Build a Shower Floor 1 (Curb and Pre-slope)
Step 5: How to Build a Shower Floor 2 (Liner, Drain, Final Slope)
Step 6: How to Install Shower Backerboard
Step 7: How to Build a Waterproof Shower Bench
Step 8: How to Tile Shower Floor
Step 9: How to Tile and Grout Shower Walls